
A hole to fill in the hallway, a shelf that leans, a wall to refresh before summer. These small DIY tasks at home can quickly pile up, and the outcome depends less on the budget than on the method. A few simple reflexes, applied even before touching a tool, change the quality of the finished work.
Preparing your site before DIY: the phase everyone rushes
Have you ever started painting a wall only to realize, after the third roll, that you didn’t have masking tape? Such interruptions break the rhythm and degrade the result. Preparation often accounts for half the time of a successful DIY project.
Further reading : 4 tips for successfully pruning your shrubs
Before starting, lay out everything you will need on a clear surface. Check the quantities: paint, screws, plugs, filler. A well-prepared site avoids most rework.
Protecting the floor and furniture takes a few minutes but saves hours of cleaning. A thin plastic tarp is sufficient for painting. For cutting work on wood, an old sheet protects the floor from splinters without slipping underfoot.
See also : Choosing Your Residence Near Nice: Tips and Tricks
The DIYers who progress the fastest are those who take the time to read the product or tool instructions. Drying times, temperature conditions, dosages: these technical indications exist for a reason. Ignoring them exposes you to a fragile result.
Platforms like BricoNet gather useful resources to identify the right materials for each type of project, simplifying this preparation step.
Choosing your DIY tools: targeted quality over collection
Buying a complete toolbox on sale seems smart. In practice, half of the pieces remain unused, and the other half breaks at the first serious use. Better to have five reliable tools than twenty fragile gadgets.
For most home tasks, a limited kit covers the majority of needs:
- A rigid tape measure and a medium-sized spirit level, so that every installation is straight from the start
- A cordless drill-driver with a variety of bits, which replaces the manual screwdriver in almost all situations
- A retractable blade cutter and a pair of multi-grip pliers, useful for both renovation and regular maintenance
Investing in a good drill-driver changes everything. It’s the tool used most often, whether for assembling furniture, fixing a curtain rod, or joining boards.
A often overlooked point: tool maintenance. A dirty saw blade cuts unevenly. A worn screwdriver bit damages screw heads. Cleaning and storing your tools after each project extends their lifespan and ensures a clean job next time.
Successfully painting without streaks or drips
Painting is the most common DIY project, and it’s where mistakes are most visible. A poorly painted wall stands out for years.
The first rule has nothing to do with the brush: the surface must be clean, dry, and smooth before any application. A dusty wall prevents adhesion. An unfilled hole creates a visible shadow under the finish coat. Apply a filler to imperfections, let it dry, then lightly sand with fine paper.
Are you hesitating between roller and brush? The roller covers large areas evenly. The brush is used for corners, edges, and narrow areas. Using both on the same wall is not a compromise; it’s the right technique.
Apply the paint in crossed passes: a first vertical coat, then a horizontal smoothing without reloading the roller. Two thin coats are better than one thick coat, which takes too long to dry and ends up dripping.
Another detail that makes a difference: the masking tape should be removed when the last coat is still slightly damp. If you wait for it to dry completely, the tape will pull off paint flakes and leave an uneven edge.
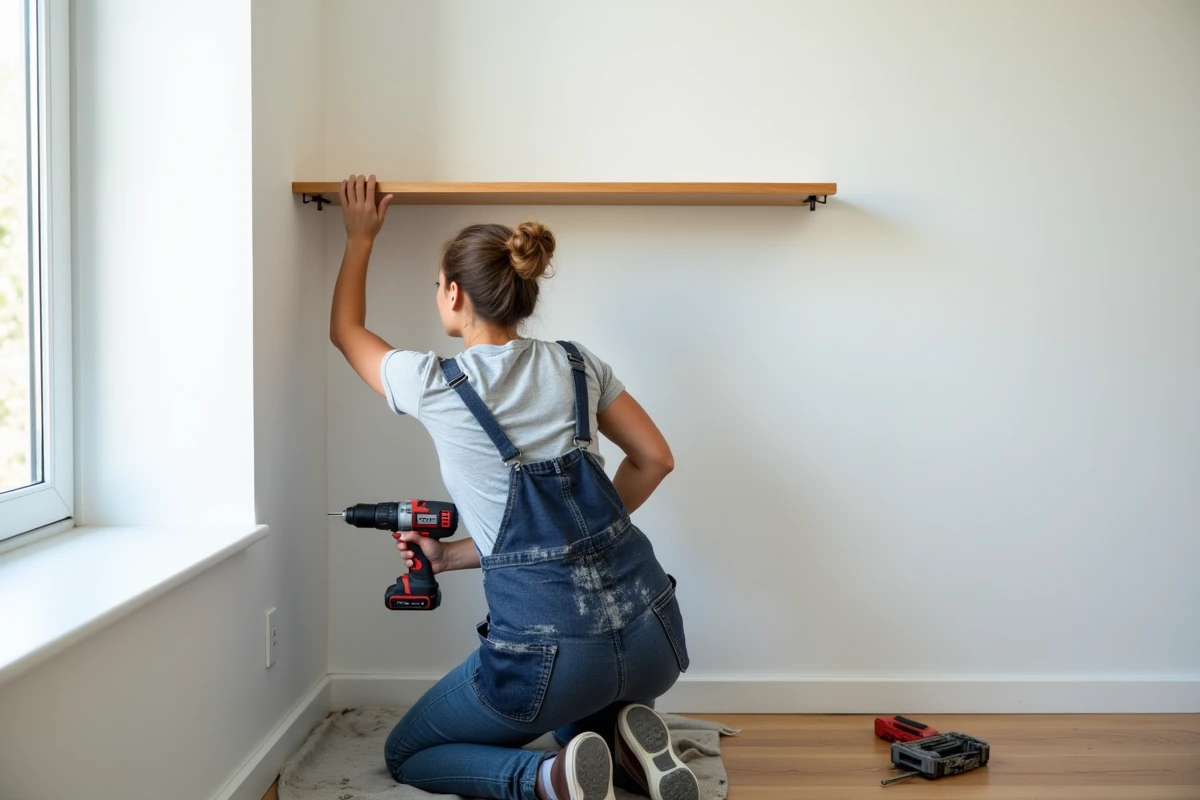
Woodwork and small renovations: adapting your method to the material
Repairing a shelf, sanding an old piece of furniture, or installing battens requires understanding how wood reacts. Unlike a plaster wall, wood works. It expands with moisture and contracts as it dries.
Before screwing into solid wood, drill a pilot hole slightly smaller than the screw. This step prevents the wood from splitting, especially near the edges. For particle board or MDF, specific expansion plugs are preferable to direct screws, which hold poorly in these materials.
Sanding with the grain of the wood is a principle that should never be forgotten. Perpendicular sanding leaves deep scratches that neither stain nor varnish will hide.
For decoration, a simple coat of wax or oil on raw wood furniture provides a more durable result than a low-quality varnish that chips after a few months. The choice of finishing product is as important as the preparation work.
Regular maintenance: small actions that prevent big projects
A blackened bathroom seal can be replaced in half an hour. Ignored for two years, it allows water to seep in, and the repair becomes a complete renovation project.
Preventive maintenance remains the best DIY advice. A few simple actions, repeated each season, prevent most heavy work:
- Check the condition of seals around windows and doors, and replace them as soon as they start to peel
- Tighten handles, hinges, and fittings that become loose over time
- Dust ventilation grilles to maintain good air circulation and limit humidity
These interventions require neither advanced skills nor expensive materials. They just require consistency.
DIY at home does not require any particular talent. A well-prepared project, suitable tools, and a method respected for each material: these three elements are enough to achieve a clean and durable result, even on a first project.